Manage your product catalog
The Products page holds everything you can put on an offer line: products, materials, services, working hours and reservations. It is also where you import and export the catalog and price installer payouts per partner group.
Open the products page
Click Products in the sidebar. 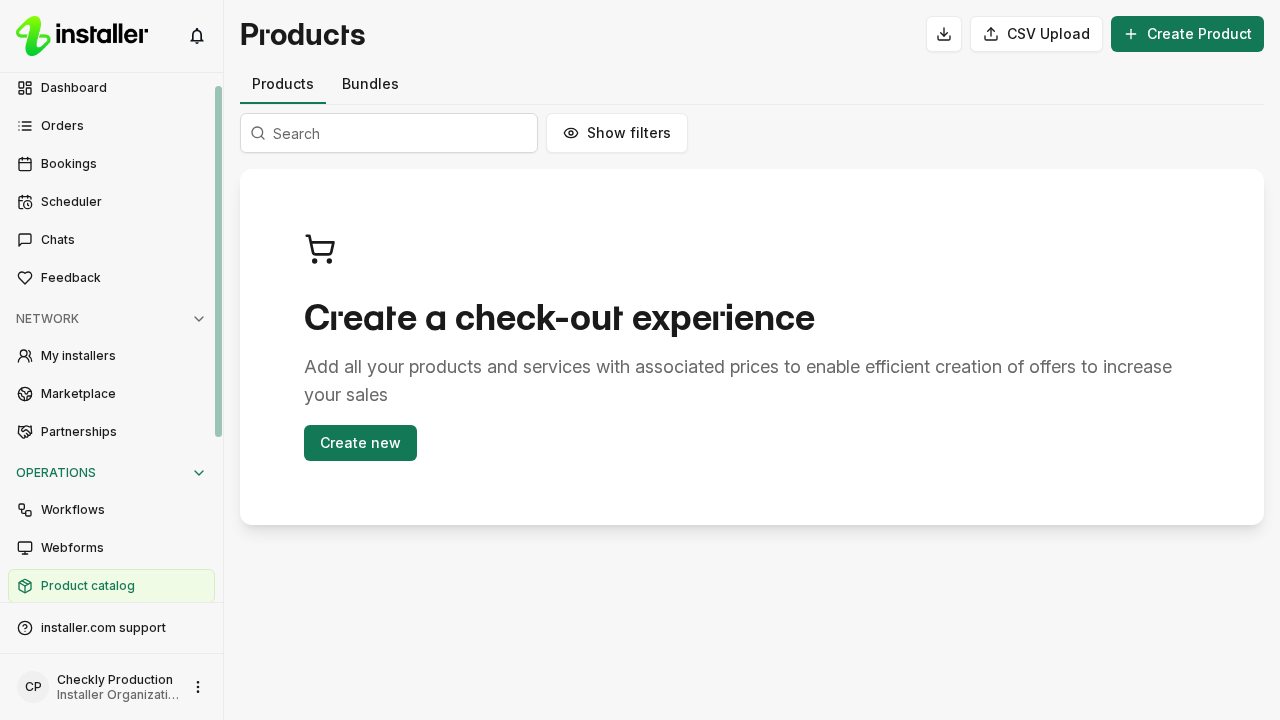
The item appears when products are enabled for your organization and your role can manage products.
The tabs
| Tab | What it holds |
|---|---|
| Products | Every product and service in your catalog. |
| Bundles | Groups of products you add to an offer in one step. |
| Partner price groups | The groups you give their own installer payout. |
Work with the products table
The table shows Name, Type, Tags, Amount, Installer payout, VAT and Payment step. Open the column settings to add Description, Visibility, Internal Price, Editable, External ID, Internal ID, Created and Updated.
Use the search box to find a product by name. Click the filter button to filter on Tags, Type, Amount, Payment step, VAT rate, Installer network, Public, Partner price groups or Created.
Click a row to open Edit product. To remove products, tick their checkboxes and click Delete in the bar at the bottom. Deleting cannot be undone.
Export the catalog
Click the download icon in the top right. Its tooltip reads Download CSV. The file downloads as products.csv and contains every product in the catalog.
Import products from a CSV file
- Click CSV Upload.
- In Bulk Upload Products, upload your CSV file.
- Check the row errors, if any are listed. The upload button stays disabled until the file parses without errors.
- Click the upload button. Its label names how many products the file will upload.
Rows are matched to existing products by ID or External ID, so an existing product is updated and an unmatched row creates a new one. One upload takes at most 500 rows. The import runs in the background and you get a notification when it finishes.
Download the CSV first to get a template with your existing products in it.
Set an installer payout for a partner group
A partner group price overrides the product’s default installer share with a fixed payout for the partners in that group.
- Open the product, or start a new one.
- In Pricing, choose Yes, pay the installer under Should the installer get paid for this item?.
- Under Partner price groups, click Add partner group price and pick the group.
- Set Installer payout (incl. VAT) or Installer payout (excl. VAT). Typing either one calculates the other from the product’s VAT rate.
- Click Save, or Create if this is a new product.
The payout starts at the full price of the product, so you lower it to the share you want the installer to get. What is left for you is shown under the amount. Click the X on a row to remove that group’s payout.
If you have no groups yet, the section shows Create partner price group instead, which opens the Partner price groups tab.
Related articles
Need help? Contact Installer.com support.
Was this helpful?