Manage Single Sign-On
Single Sign-On (SSO) lets people sign in with your own identity provider instead of an Installer.com password. You configure one provider per email domain, test it, then decide whether SSO sits alongside passwords or replaces them.
Open the Single Sign-On settings
- Open Settings.
- Under Advanced, select Single Sign-On.
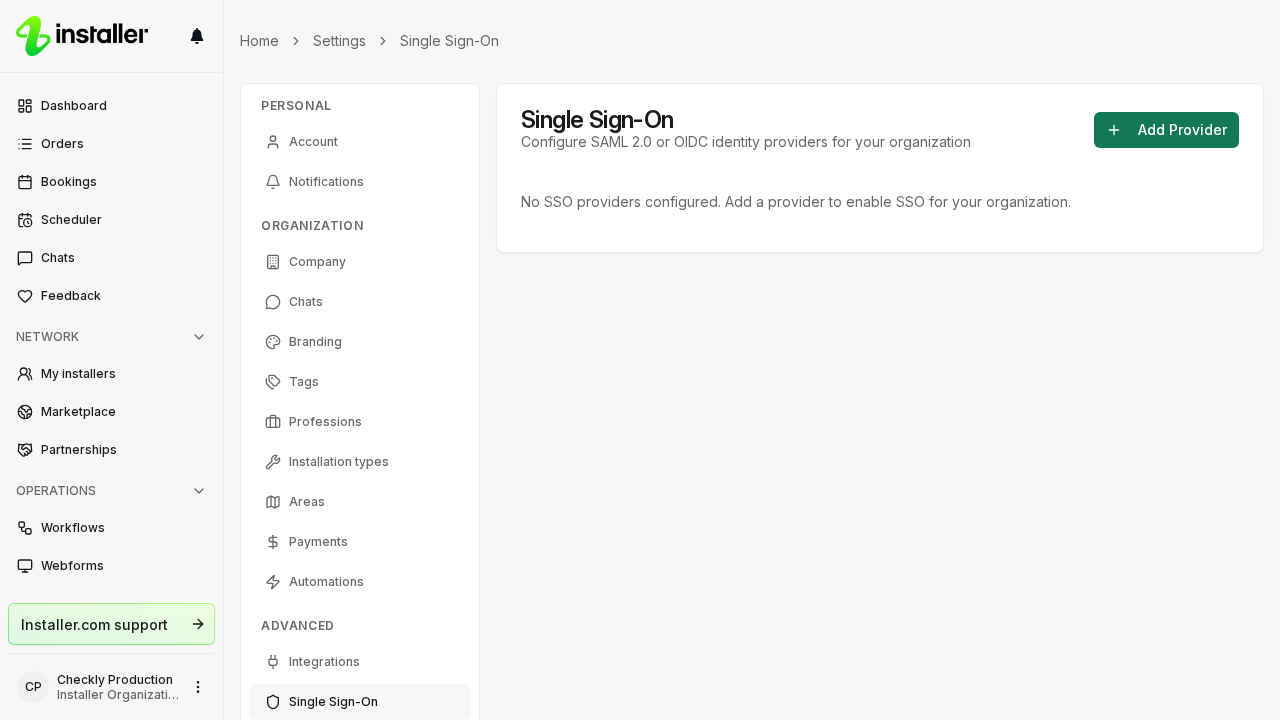
The page lists every provider you have configured, with its type and status. When there are none, it reads “No SSO providers configured. Add a provider to enable SSO for your organization.”
Add a provider
- Select Add Provider.
- Choose the Provider Type: OIDC or SAML 2.0. OIDC works with most identity providers, including Keycloak, Okta, Entra ID and Auth0. Use SAML 2.0 only if yours does not support OIDC.
- Enter a Provider ID. Use lowercase letters, numbers and hyphens only, for example
acmecorp-okta. It becomes part of the SSO callback URL and cannot be changed later. - Enter the Email Domain, for example
acmecorp.com. Users with this email domain sign in through this provider. - Select Add Provider.
The provider opens on its own page with the status Draft.
Give your identity provider our details
The Service Provider section holds the values your identity provider administrator needs.
For OIDC, copy the Callback URL into your identity provider’s redirect or callback URI configuration.
For SAML 2.0, copy the Entity ID and the Assertion Consumer Service URL into your identity provider. The Service Provider Metadata URL completes the integration in providers that read metadata.
Enter your identity provider’s details
Fill in the Identity Provider Configuration section, then select Save.
For OIDC, enter the Issuer URL, the Client ID and the Client Secret your identity provider issued for this application. When a secret is already stored, leave the field blank to keep it and enter a new value to replace it.
For SAML 2.0, choose the SAML Configuration Mode:
- Metadata XML: paste the SAML 2.0 metadata XML from your identity provider.
- Metadata URL: enter an
https://URL where your identity provider publishes its metadata. It is fetched once and stored.
Grant access with claim mappings
Access is decided by claims, in the Provisioning & Access section. Only users whose claims match a rule are granted access. A user that no rule maps to an organization is denied sign-in.
- Organization claims: name a claim whose values are matched against sub-organization external IDs. Comma-separated values are split, so one claim can grant several organizations.
- Role claims: map a claim value to a role: Admin, Operator or Limited. Leave the organization empty to set the role for the organizations matched above, or pick one to also grant access there.
- Default role: used for organization claim matches when no role claim applies.
Select Save.
Test the sign-in
In the Status & rollout section, select Test login. It runs a real SSO sign-in in a new tab and reports the claims it read and the organizations and roles they granted. The section shows Not tested yet until a test runs, then the date of the last one.
Test login stays disabled until the identity provider configuration is complete.
Roll the provider out
The status controls what SSO does at sign-in.
| Status | What it means |
|---|---|
| Draft | Configured but never offered. Sign-in is unaffected. |
| Active | SSO is offered on the sign-in form. Passwords still work. |
| Enforced | Everyone on the email domain must sign in with SSO. |
| Disabled | Off, and the configuration is kept. |
Use the buttons in Status & rollout:
- Activate: available once the identity provider configuration is complete.
- Enforce: available once a test login has succeeded. You confirm the change first. The admin who created the provider keeps password access as a break-glass fallback.
- Disable: turns the provider off without deleting it.
Verify your domain
Domain verification is optional. It proves you own the email domain, which guards against another organization claiming it.
- In Status & rollout, under Domain verification, select Get DNS record.
- Add the Record name (host) and Record value shown as a TXT record in your domain’s DNS.
- Select Verify domain.
DNS changes can take a while to propagate. If the record is not found yet, wait and select Verify domain again.
How people sign in
A user enters their email address on the sign-in page. When their domain has an active provider, they can pick Continue with SSO or Sign in with password. When the provider is enforced, they go straight to the identity provider.
A user whose email domain does not match the provider, or whose claims map to no organization, is refused and told to contact their administrator.
Delete a provider
In Identity Provider Configuration, select Delete Provider and confirm. Its users can no longer sign in through it, and this cannot be undone.
Need help? Contact Installer.com support.
Was this helpful?